How to Set Up Apple Cash: Your Essential Guide for 2025
In today’s digital age, managing your finances has never been easier, especially with the advent of apps like Apple Cash. This comprehensive guide will provide you with everything you need to know about how to set up Apple Cash, covering the necessary steps for apple cash setup, eligibility requirements, and more. Whether you’re looking to transfer money, make payments, or simply streamline your financial management tasks, understanding Apple Cash is crucial. Read along to find out tips to enhance your transactions and make the most of this service.
Understanding Apple Cash Eligibility Requirements
Before diving into the apple cash app setup, it’s essential to know the apple cash eligibility requirements. First and foremost, both sender and recipient must be U.S. citizens and at least 18 years old, as Apple Cash is designed to facilitate secure peer-to-peer transactions within the country. Moreover, having an Apple device, including an iPhone, iPad, or Apple Watch, is necessary to access this feature, while an up-to-date iOS version is mandatory to ensure compatibility and security.
Setting Up Your Apple ID for Apple Cash
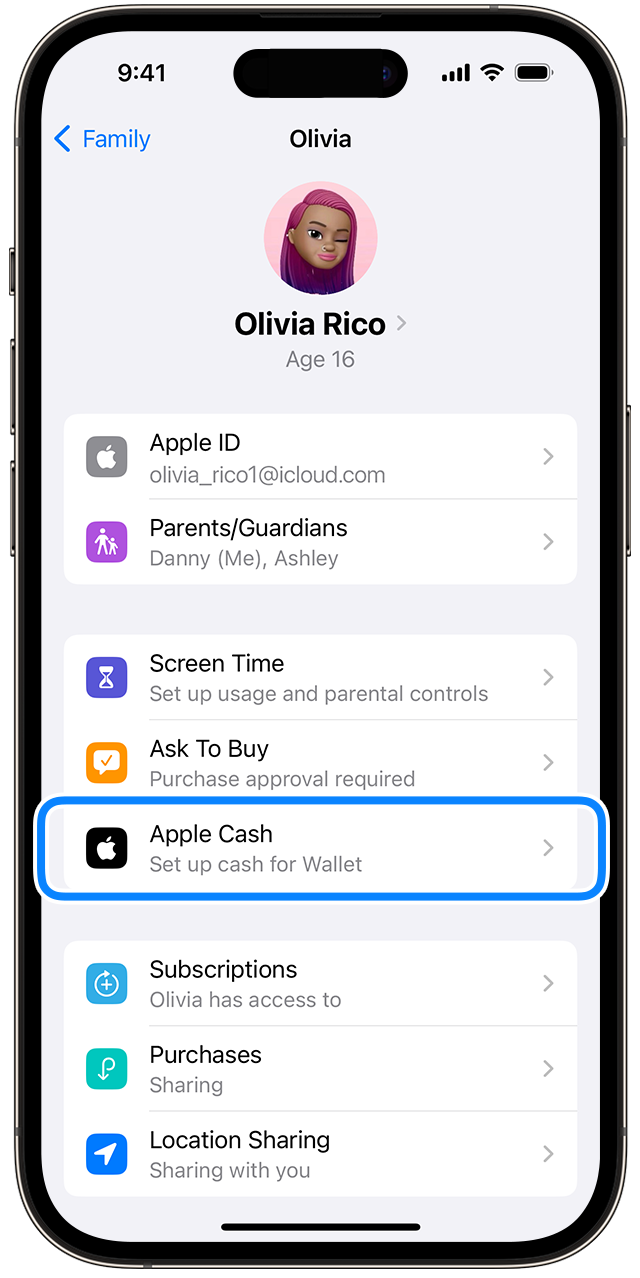
Your Apple ID is integral to the apple cash setup guide. To set up Apple Cash, you first need to enable it within your Apple Wallet. Start by ensuring your Apple ID is set up for two-factor authentication. Navigate to “Settings,” select “Wallet & Apple Pay,” then tap to “Set Up Apple Cash.” Follow the prompts to create your Apple Cash account, linking any bank accounts as needed. This process also confirms your identity through verification steps that bolster security.
Linking Bank Accounts to Apple Cash
Linking a bank account is crucial for effective funding your Apple Cash account and for smooth transactions. Typically, you can link your checking or savings account to facilitate quick money transfers. Within the Apple Wallet app, there’s an option to add a bank account under the Apple Cash settings. Simply enter your bank details, and once verified, your funds will be readily accessible for transactions, eliminating the need for excess cash on hand.
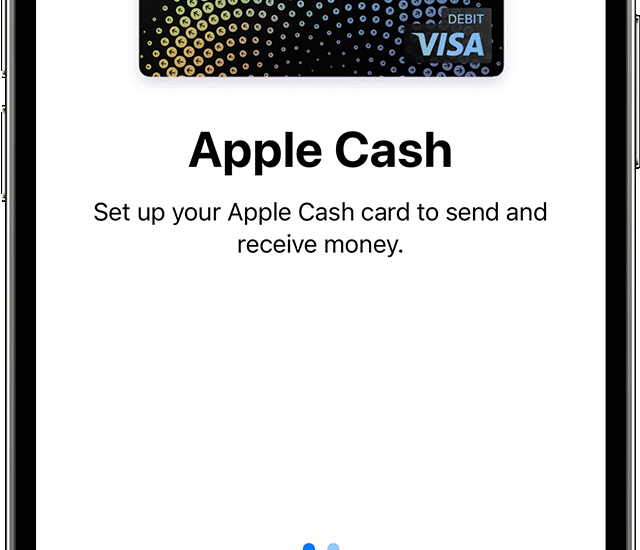
Apple Cash Account Creation Process
Create your Apple Cash account and start managing your digital funds with ease. After setting up your Apple ID, if you have two-factor authentication enabled, you should see a prompt to create your Apple Cash account. This process typically requires you to confirm your identity, and you may receive a verification code via SMS or email. Make sure the information you provide matches what’s listed on your bank account or credit/debit card.
Activating Apple Cash on Your Device
Once your account is created, the next step is to **activate Apple Cash**. Within the Apple Wallet app, navigate to the Apple Cash card section and toggle the option to activate it. You should receive confirmation of activation shortly after. It’s advisable to run through the settings and familiarize yourself with options regarding notifications and privacy settings, to tailor your Apple Cash use to your preferences.
Configuring Apple Cash Settings
The **apple cash settings** allow for enhanced user experience. You can adjust settings related to notifications for transaction alerts, which helps manage your financial updates and ensures you don’t miss any critical transactions. Additionally, exploring privacy settings will enable you to share your Apple Cash balance and transaction history only with trusted individuals, reinforcing your financial security.
Funding and Managing Your Apple Cash Account
Managing your Apple Cash balance is straightforward once you’ve set it up. To **fund your Apple Cash account**, select either bank transfers or money received from colleagues or friends. You can also choose to load the account from a debit card linked to your Apple Wallet. Keeping your balance adequately funded ensures smooth experiences for your daily transactions, allowing you to pay for goods or services efficiently.
Sending and Receiving Money with Apple Cash
The **apple cash transfer process** is user-friendly. If you wish to **send money through Apple Cash**, simply open the Messages app and select the Apple Cash icon in an iMessage conversation. Enter the amount and tap “Pay.” The recipient will instantly receive the money in their Apple Cash account. Similarly, for **receiving money**, you’ll need to share your Apple Cash details or receive funds based on the same transaction process.
Using Apple Cash at Stores and Online
Using Apple Cash for payments is versatile. At physical stores, you can **use Apple Cash at stores** by selecting your Apple Cash balance as the payment method at checkout. For online transactions, many retailers also accept Apple Pay which seamlessly integrates with Apple Cash accounts. Just select Apple Pay at checkout, and authenticate your payment using Face ID or Touch ID for added security.
Maintaining Security with Apple Cash
As with any financial application, security is paramount when using Apple Cash. One of the significant features of Apple Cash is its robust security protocols, which include two-factor authentication and biometric security features. Furthermore, regular checks on your **apple cash transaction history** can help identify any unauthorized transactions. This vigilance assists in timely responses to any suspicious activities.
Common Troubleshooting Issues and Solutions
Despite its user-friendly nature, you might encounter some common troubleshooting Apple Cash issues. If your payments aren’t processing, check your internet connection first. Always ensure that your device has the latest OS updates installed. If you are experiencing persistent issues, contacting Apple Cash customer support can be an invaluable resource to resolve any accounts’ concerns.
Checking Apple Cash Fees and Limits
Although *Apple Cash* facilitates many free transactions, understanding the **apple cash fees explained** is critical. Typically, sending money using a debit card is free, while credit card transactions incur fees. Also, Apple Cash limits may apply, which can vary based on the type of account or other factors. Familiarizing yourself with these aspects will prevent any unpleasant surprises when using Apple Cash for your transactions.
Conclusion
Setting up and managing your Apple Cash account can significantly simplify your financial transactions while ensuring secure payments. Following the steps above will enable you to enable and use `Apple Cash` efficiently, giving you a competitive edge in your financial management. By leveraging this tool, you can confidently engage in digital transactions, from requesting money to withdrawing it from your account.
FAQ
1. How do I change my Apple Cash settings after setup?
To change your apple cash settings after initial setup, open the Wallet app and tap on your Apple Cash card. From there, you’ll have access to control privacy settings, notifications, and other account settings that can enhance your user experience.
2. Can I use Apple Cash for international transactions?
Currently, using apple cash internationally is limited, as Apple Cash is designed primarily for domestic transactions within the United States. Keep in mind alternative options or services for international funds transfer that might suit your needs better.
3. What should I do if my Apple Cash account is locked?
If your Apple Cash account becomes locked, typically due to security reasons or verification issues, reach out to apple cash customer support for assistance. You can also check if there’s any recent update you may need to perform on your account settings or device.
4. Are there limits on how much I can send using Apple Cash?
Yes, there are apple cash limits that apply according to the type of transaction and the funding source. For example, sending limits may vary based on your account level and how much money you already have in your Apple Cash account.
5. How do I delete my Apple Cash account?
If you decide to stop using Apple Cash, you can delete your account by navigating to the Apple Cash settings within the Wallet app. Select the link or option to delete your account but ensure to withdraw any remaining balance or link it back to your bank account first.